


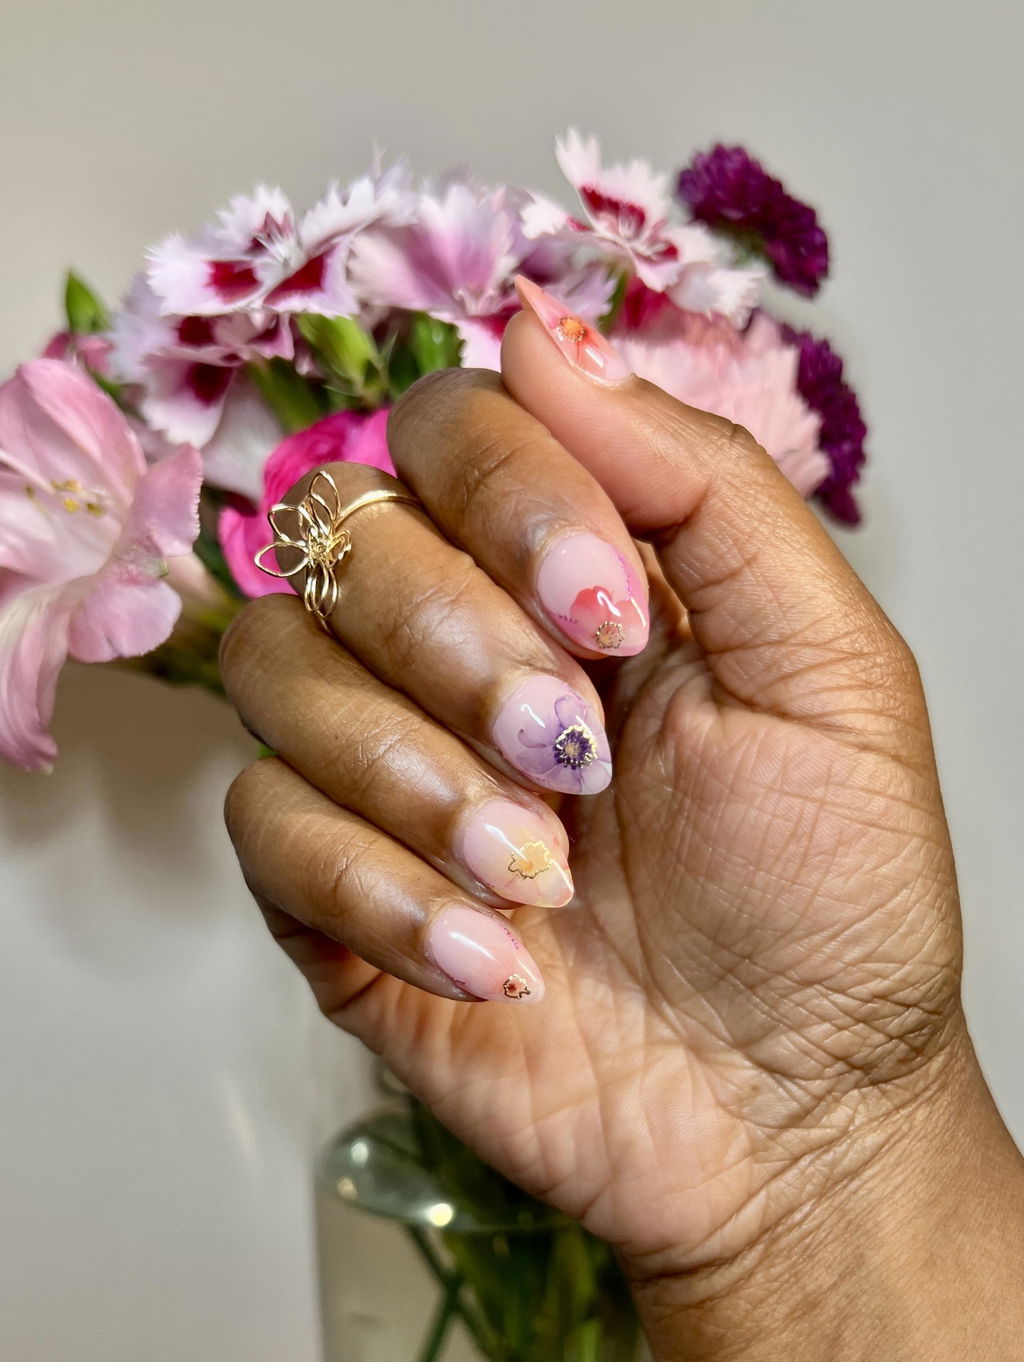
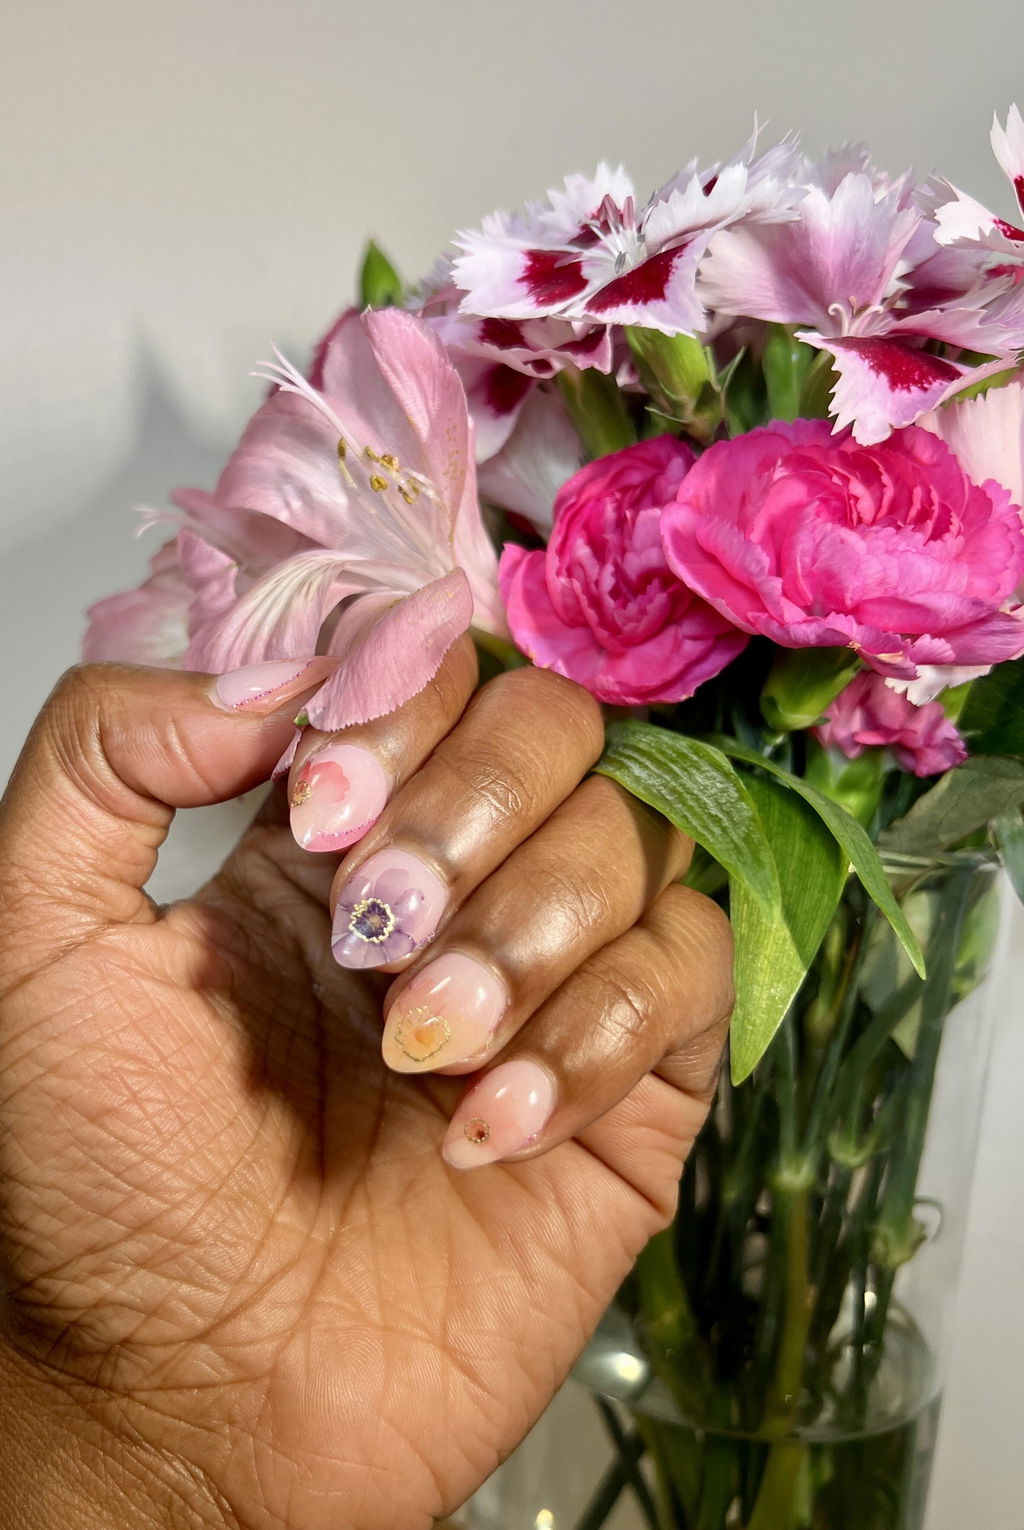
Elegant yet chic mani - love the colorful florals in a French manicure style.
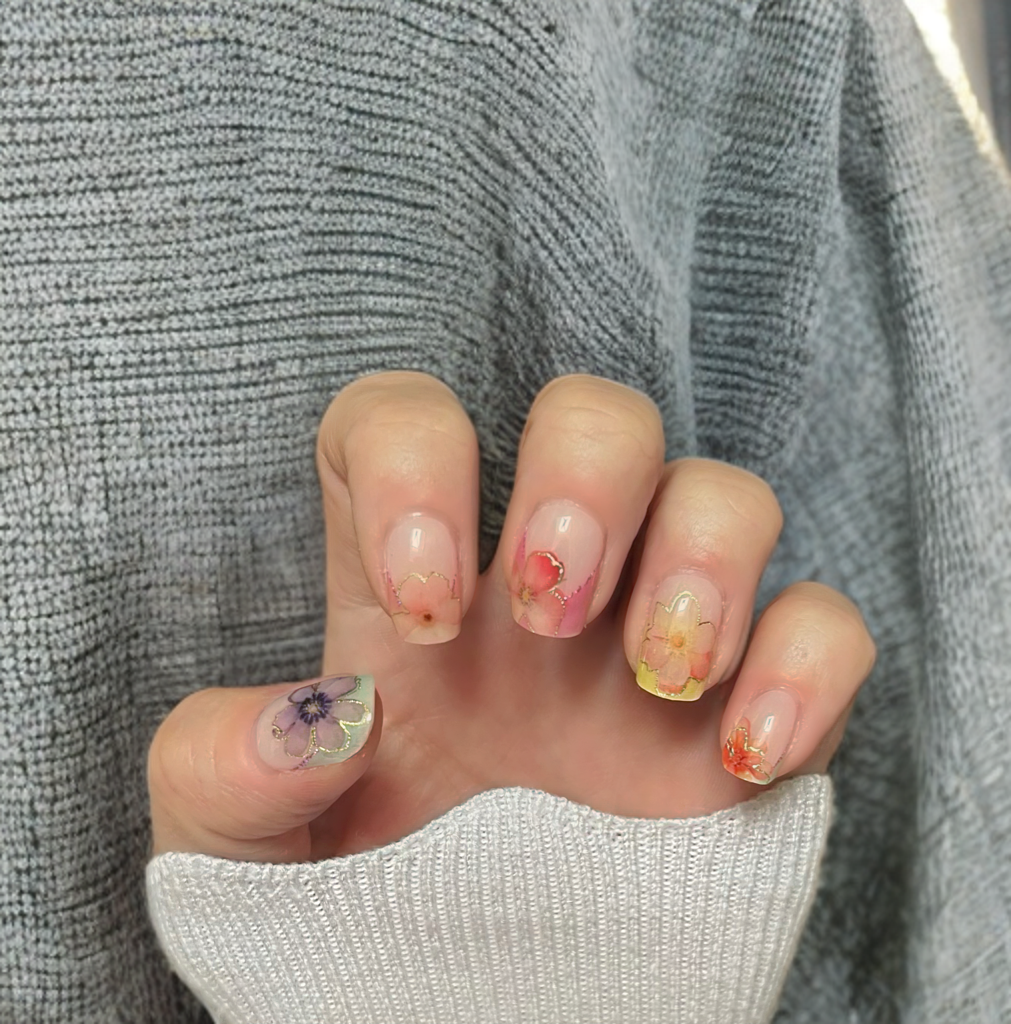
This is a soft, colorful take on a French mani design and I love it! Perfect for flower lovers or spring time.
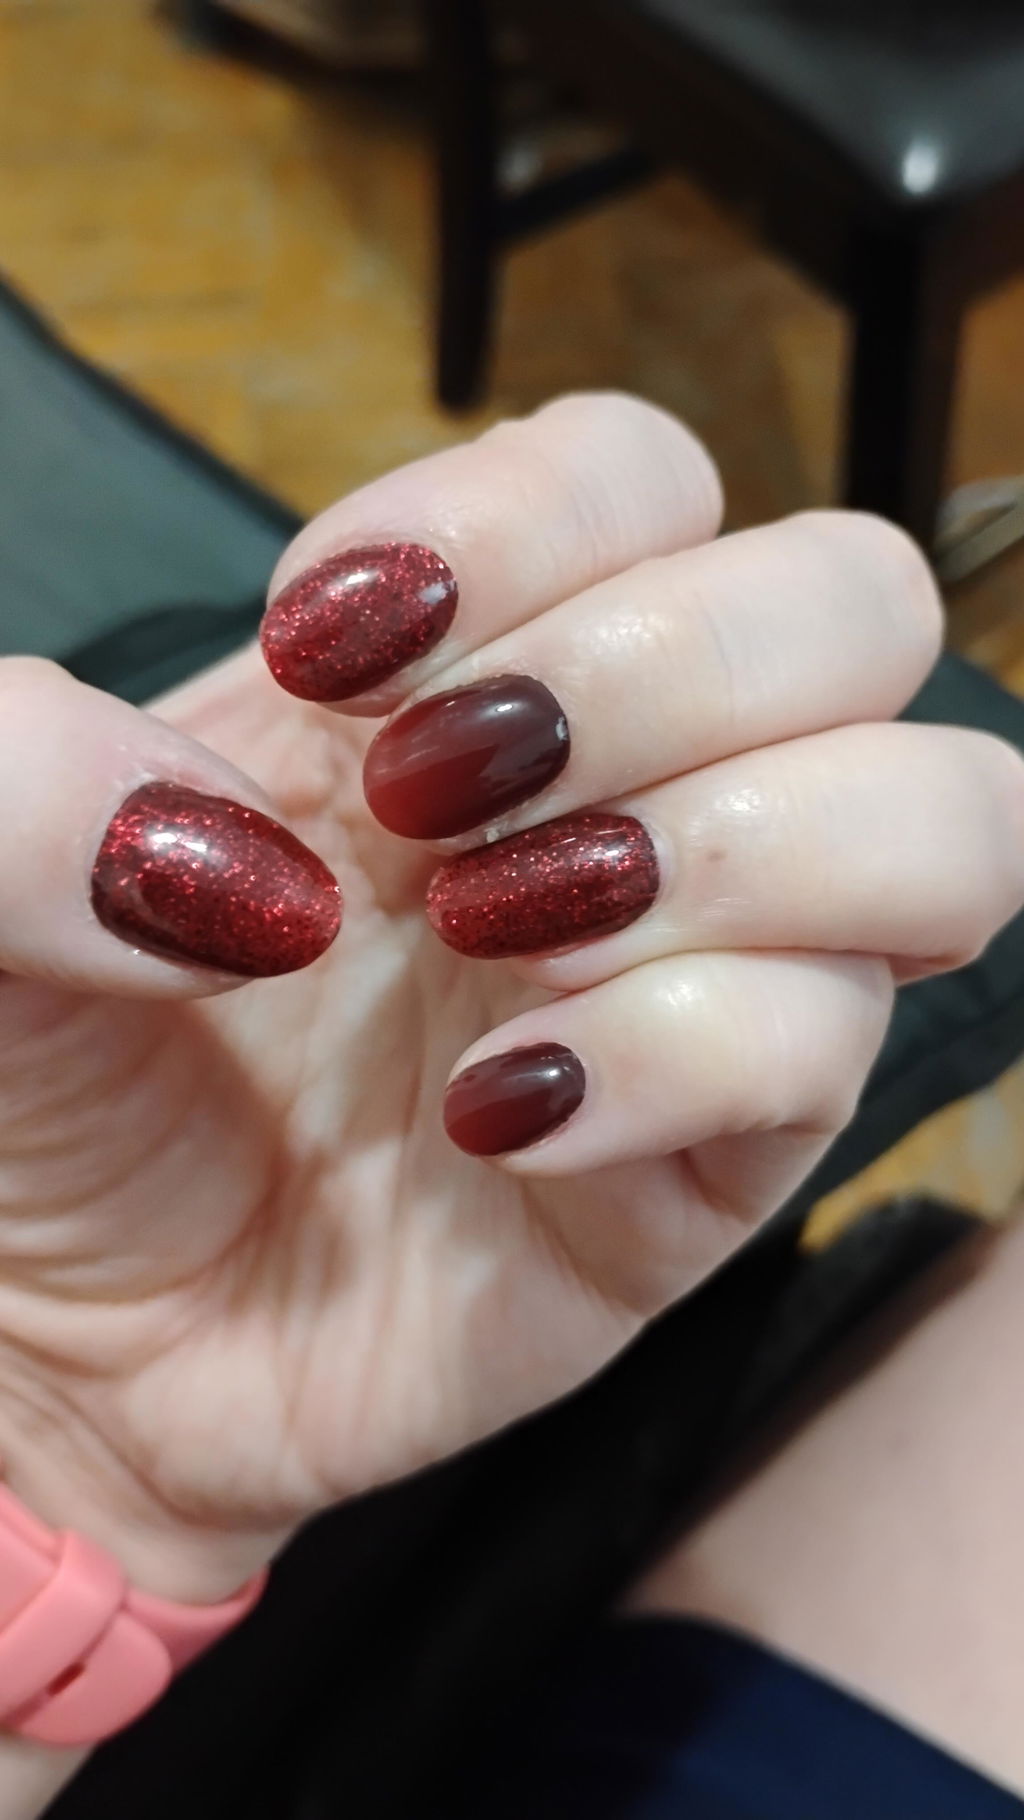
Such a beautiful color with so much richness and depth! You can wear these for so many occasions, or as an everyday mani. They went on like butter and lasted longer than my other manis! Garnet muse is a must have!
One of my absolute favorite sets! They applied like a dream... the only hard part is figuring out how to wear them. I put these on apres gelx extra short that I cut down shorter and topped with litlock. They shine and are so beautiful.... I can't stop staring at my hands!! This is a wonderful set to add to my addiction...I mean collection😏😅
Perfect LIT design. Can't wait to see what you come up with next!