How to Apply Gel Nail Strips (Step-by-Step Guide for Salon-Quality Nails)
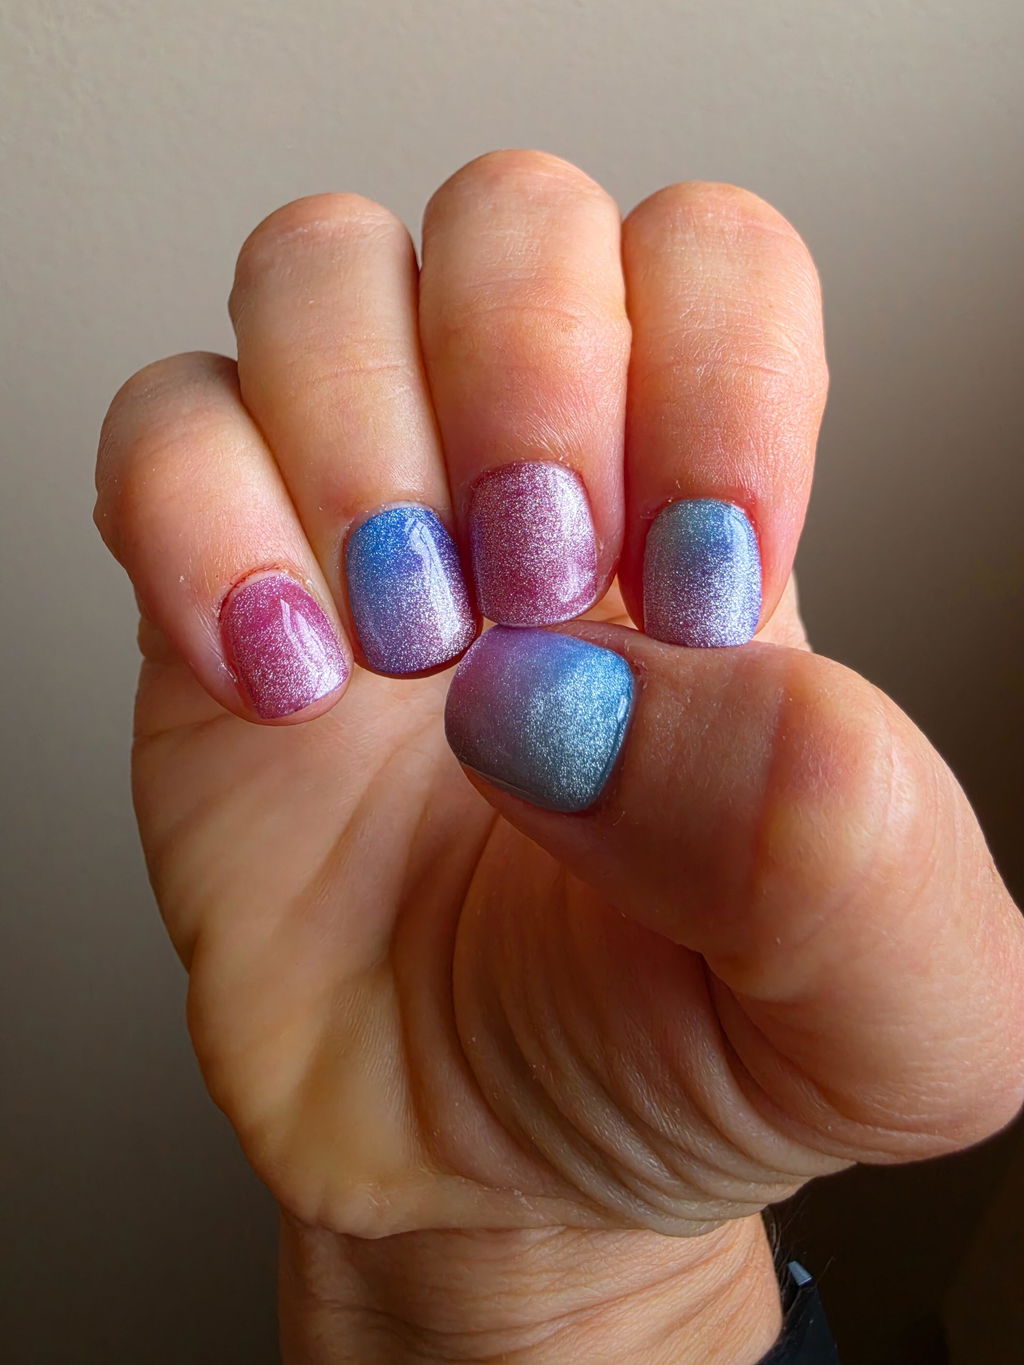
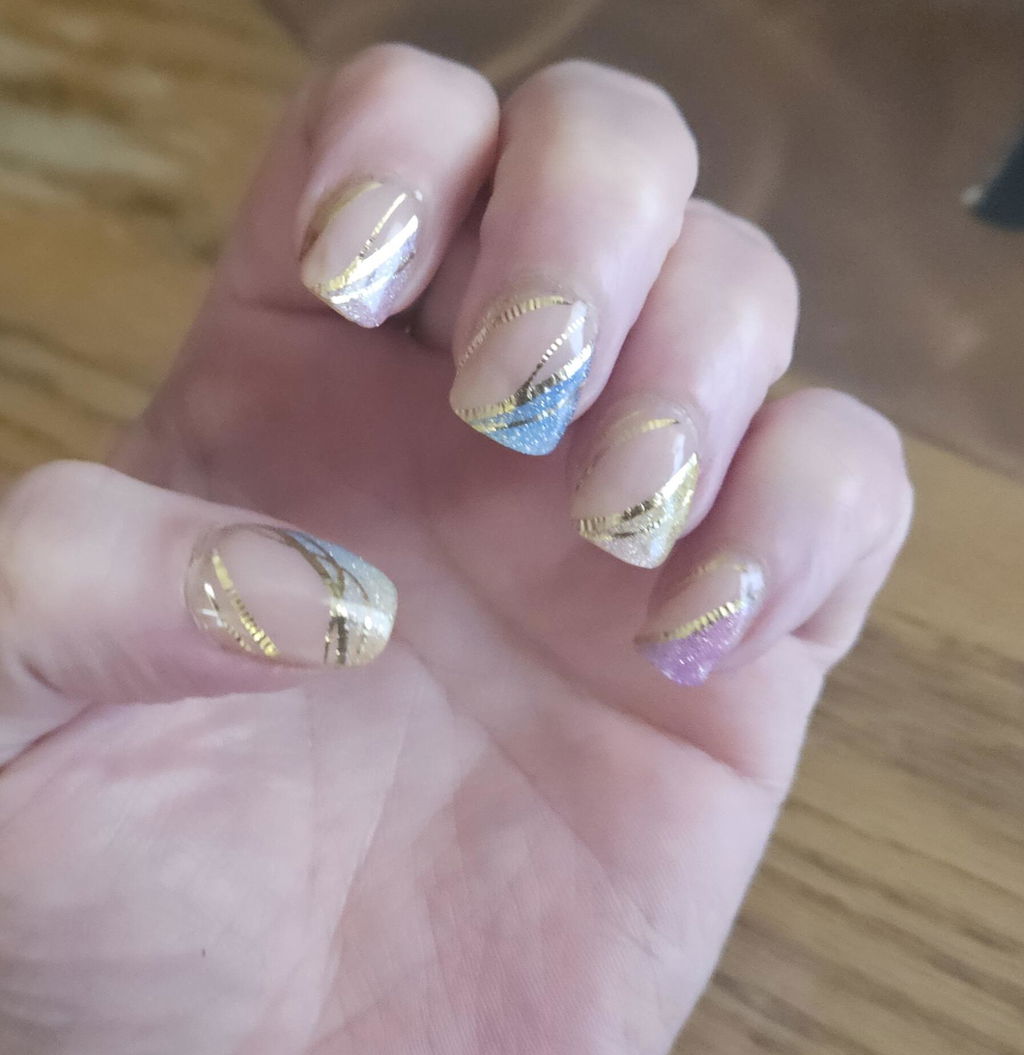
Gel nail strips are one of the easiest ways to achieve salon-quality nails at home. They combine the durability of gel polish with the convenience of a sticker-like application.
If you’re new to gel nail strips or want to improve your results, this step-by-step guide will walk you through the correct way to apply them for the best long-lasting finish.
Complete guide to gel nail strips
What Are Gel Nail Strips?
Gel nail strips are thin layers of real gel polish that are partially cured. Once applied to the natural nail and cured under a UV or LED lamp, they harden into a glossy gel manicure.
Unlike traditional polish, gel nail strips:
- Require no drying time
- Last longer than regular polish
- Provide a smooth gel finish
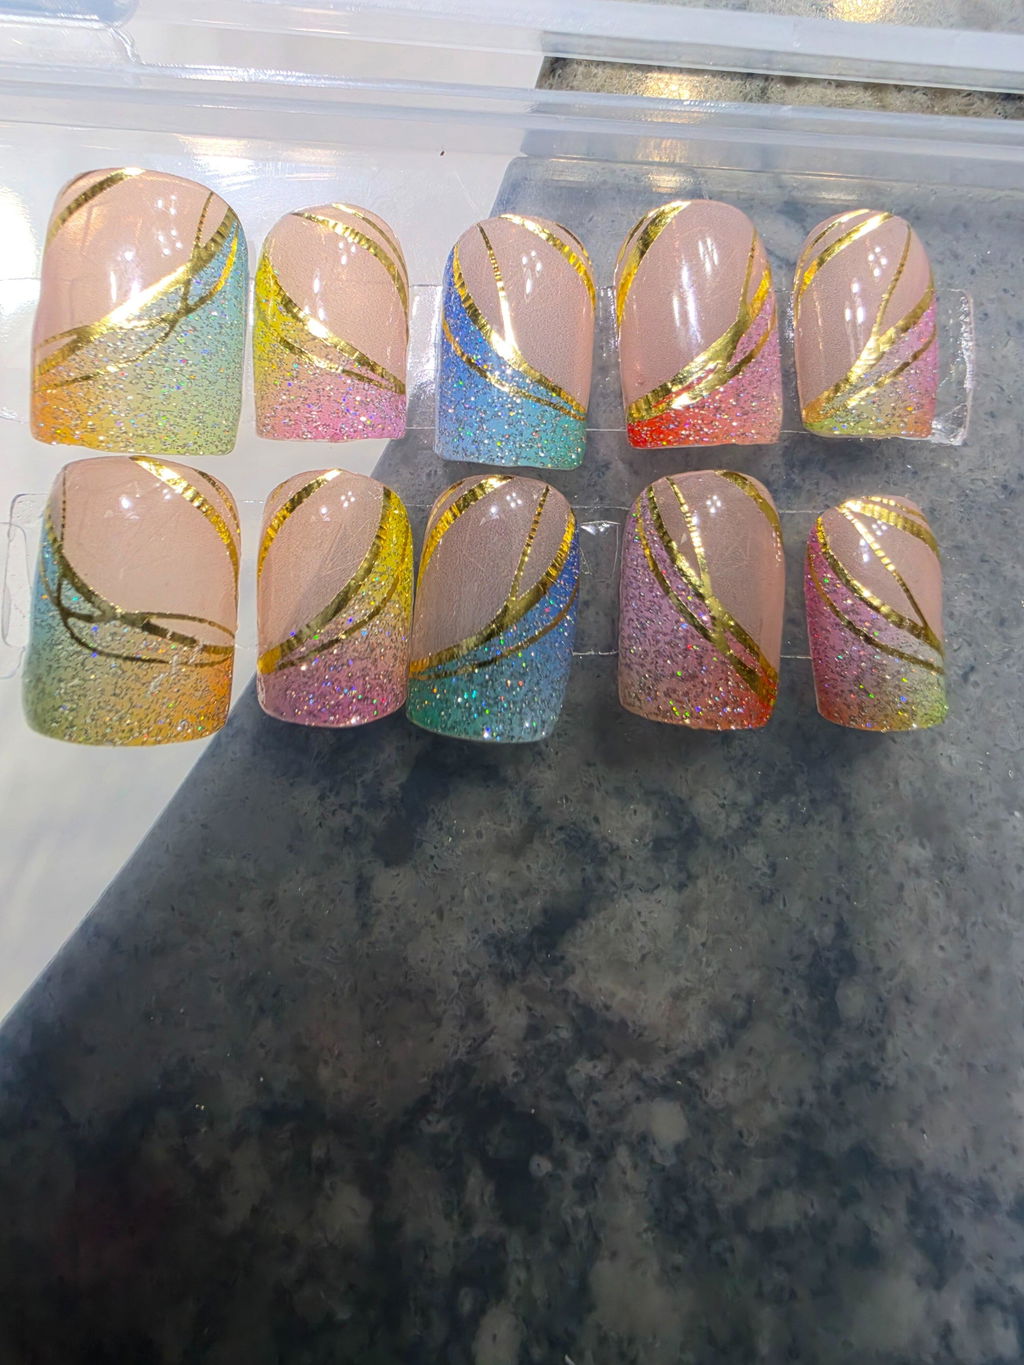
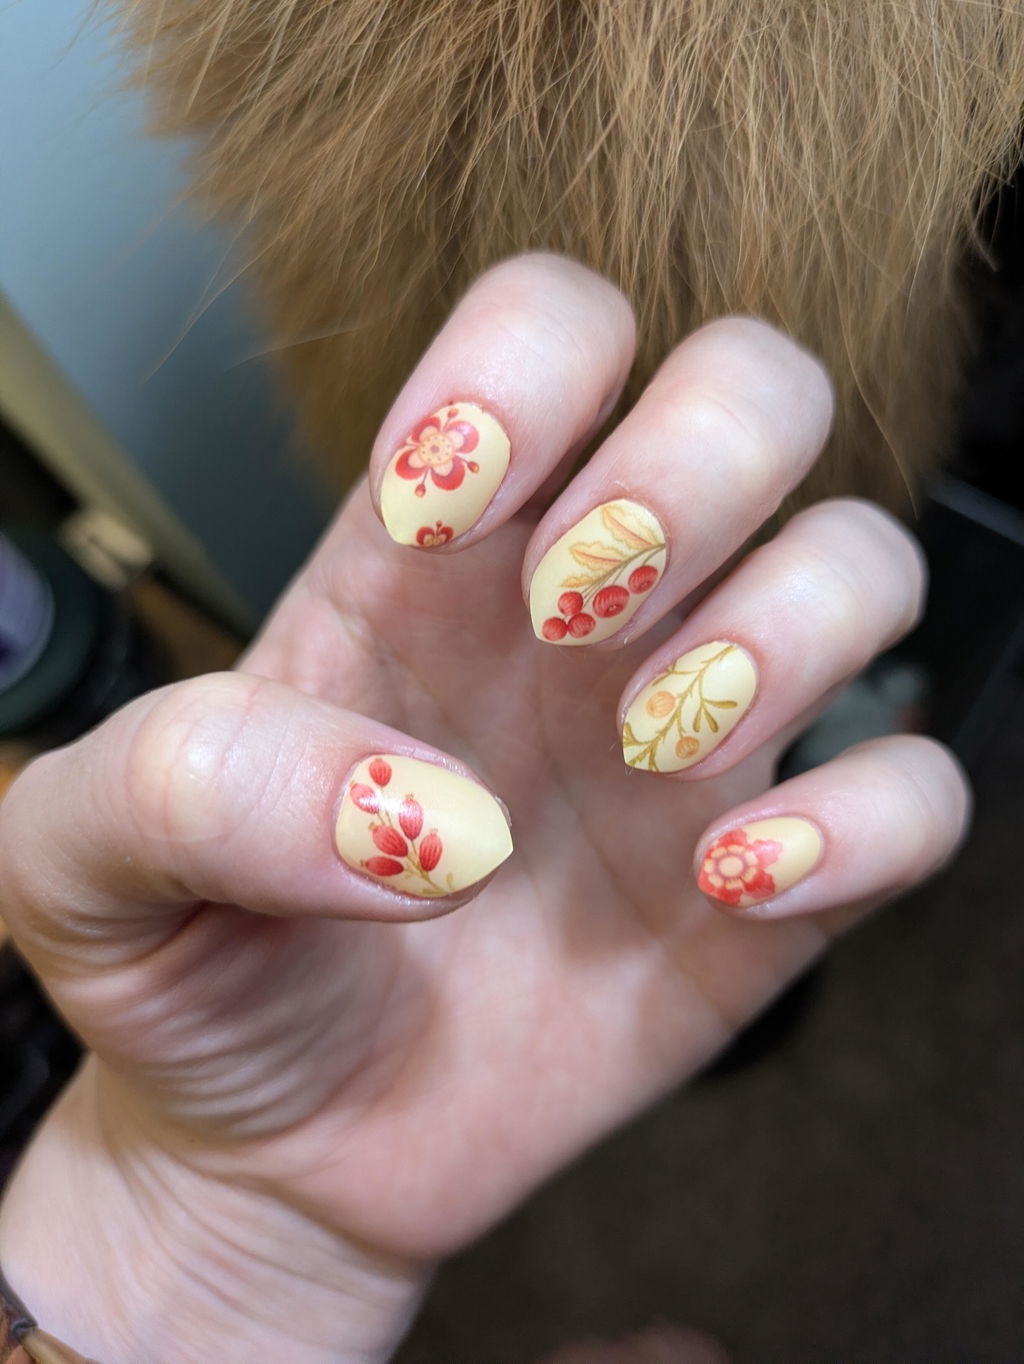
- Can include detailed nail art designs
At Lit Gels, our gel nail strips are HEMA-free and designed for easy at-home application.
Step-by-Step: How to Apply Gel Nail Strips
1. Prepare Your Nails
Proper nail preparation helps gel nail strips last longer.
Start by:
- Washing your hands
- Pushing back cuticles
- Lightly buffing the nail surface
- Cleaning nails with alcohol or nail cleanser
This removes oils that can cause lifting.
2. Choose the Right Size
Select a strip that matches the width of your nail.
A good rule:
The strip should not touch the skin or cuticle area.
If needed, slightly stretch or trim the strip for a perfect fit.
3. Apply the Gel Nail Strip
Place the strip slightly above the cuticle and press it down toward the tip of the nail.
Smooth out the strip using your finger or a wooden stick to remove any air bubbles.
4. Trim the Excess
Use nail scissors or a nail clipper to remove excess strip length.
Then file the edge downward to create a clean finish.
5. Cure Under a UV/LED Lamp
Place your nails under a UV or LED lamp for about 60 seconds.
This step fully cures the gel and hardens the strips.
Tips for Long-Lasting Gel Nail Strips
To help your manicure last longer:
- Avoid touching skin with the strip
- Press edges firmly before curing
- Apply a gel top coat for extra durability
- Seal the nail edges when curing
Proper application can help gel nail strips last up to two weeks or more.
Why Many People Prefer Gel Nail Strips
Compared with traditional polish or press-on nails, gel nail strips offer:
- Faster application
- Less damage to natural nails
- Flexible fit
- Professional-looking designs
They are ideal for anyone who wants a polished manicure without salon appointments.
Try Lit Gels Gel Nail Strips
If you’re ready to try gel nail strips yourself, explore our newest designs:
👉 Browse our collection of gel nail strips
You can also watch our tutorial video here: