Introduction
Doing your own gel nails at home sounds exciting — and it is.
You get:
-
Salon-quality shine
-
Long-lasting wear
-
A perfect at home manicure without booking appointments
But here’s the truth most beginners don’t realize:
They require precision, patience, and the right technique. One small mistake can lead to lifting, bubbling, or chipping within days.
In this guide, we’ll walk you through:
✔ How to do gel nails at home with UV light step-by-step
✔ Common mistakes beginners make
✔ A faster, easier alternative for a flawless at home manicure
What You Need to Do Gel Nails at Home With UV Light
Before you start, make sure you have everything ready:
-
UV or LED lamp
-
Gel base coat
-
Gel color polish
-
Gel top coat
-
Nail file & buffer
-
Cuticle pusher
-
Alcohol wipes or cleanser
💡 Missing even one step can affect how long your gel nails last.
Step 1: Prep Your Nails Properly
Prep is everything.
-
File and shape your nails
-
Push back cuticles
-
Lightly buff the surface
-
Clean with alcohol to remove oils
👉 If your nails are oily or shiny, gel will NOT stick properly.
Step 2: Apply Base Coat + Cure
Apply a thin layer of base coat.
-
Avoid skin contact
-
Keep it even
-
Less is better
Cure under UV/LED lamp for 30–60 seconds.
💡 Thick layers can cause wrinkling and poor curing.
Step 3: Apply Gel Color (2 Thin Layers)
-
Apply first thin coat → cure
-
Apply second coat → cure
Always:
-
Start from center
-
Move outward
-
Cap the edge
👉 This prevents early chipping.
Step 4: Apply Top Coat + Final Cure
Seal everything with a top coat.
-
Even coverage
-
Cap the tip again
Final cure: 60 seconds
If needed, wipe off sticky residue with alcohol.
Common Problems With DIY Gel Nails
Even when you follow every step, beginners often struggle with:
Peeling after 1–3 days
-
Poor prep
-
Oil on nails
-
Thick layers
Uneven or wrinkled finish
-
Too much product
Gel touching skin
-
Causes lifting quickly
Difficult removal
-
Requires soaking and scraping
👉 This is why many people get frustrated doing gel nails at home.
Why Traditional Gel Nails Are Hard for Beginners
Let’s be real.
Doing gel nails with UV light at home:
-
Takes time
-
Requires skill
-
Has a learning curve
👉 It’s not forgiving.
One small mistake can ruin the entire manicure.
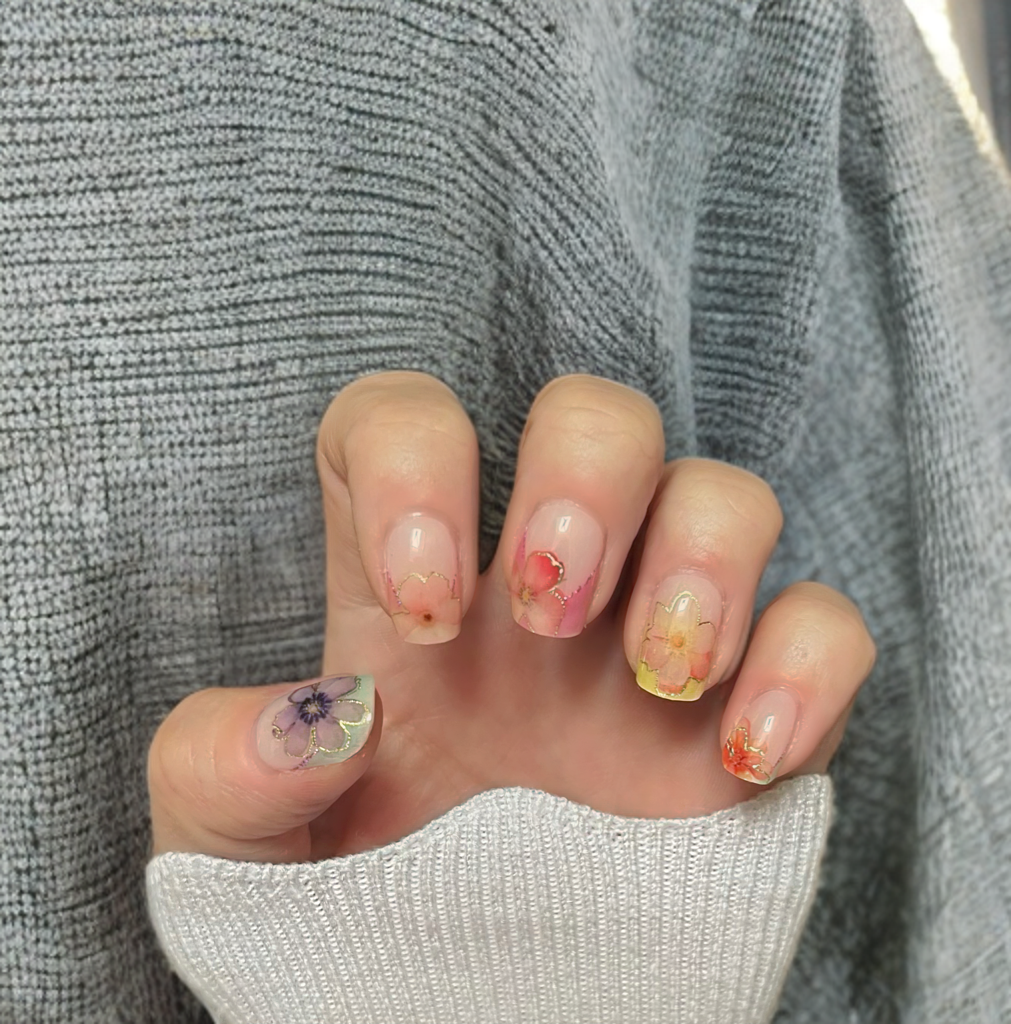
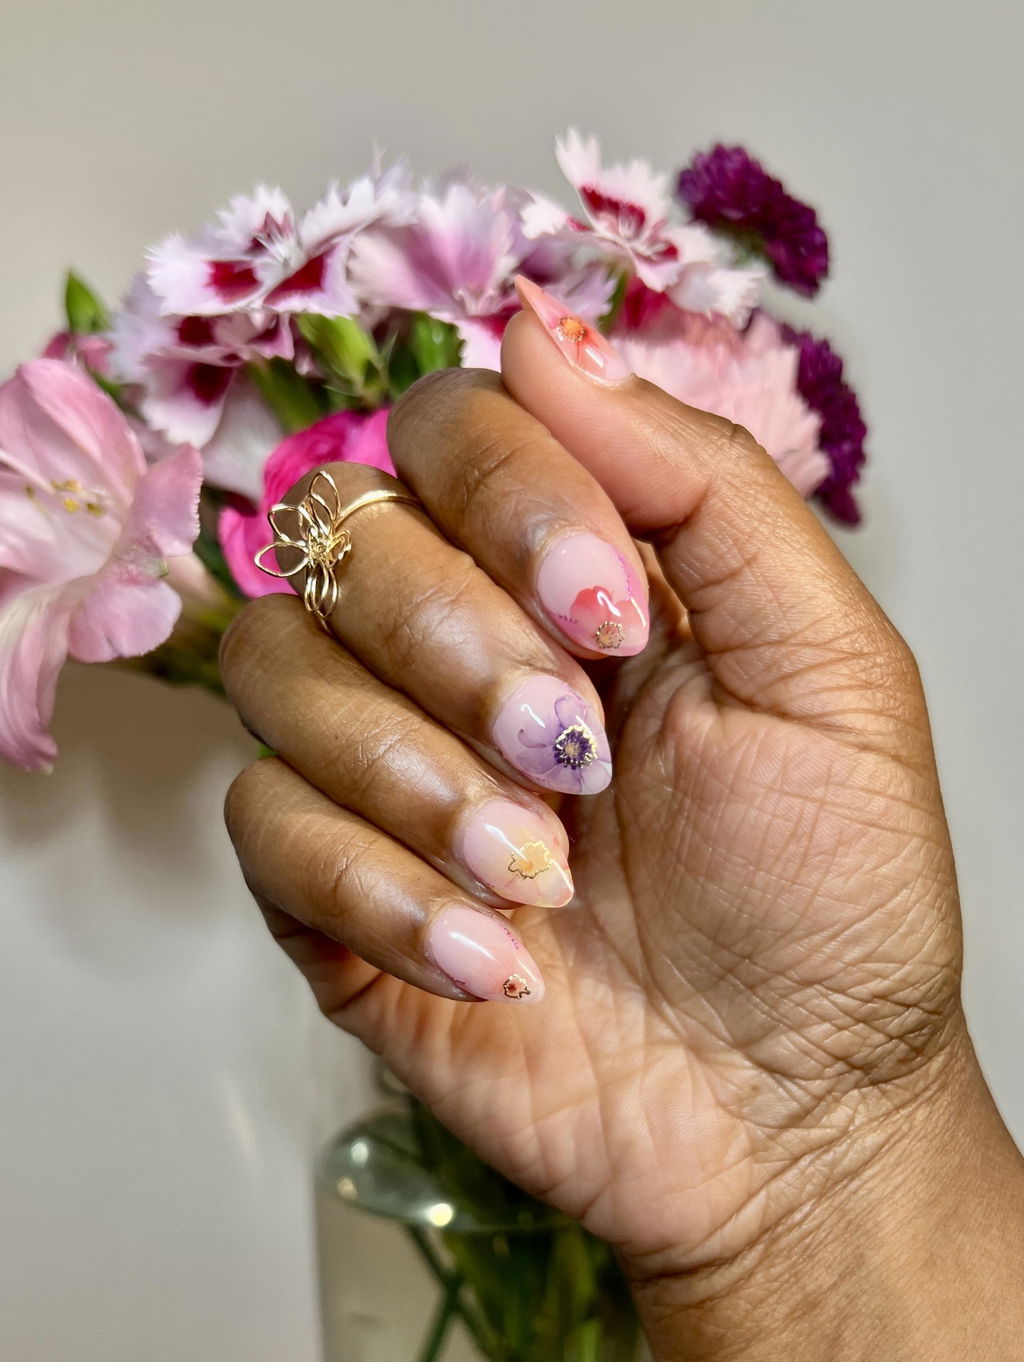
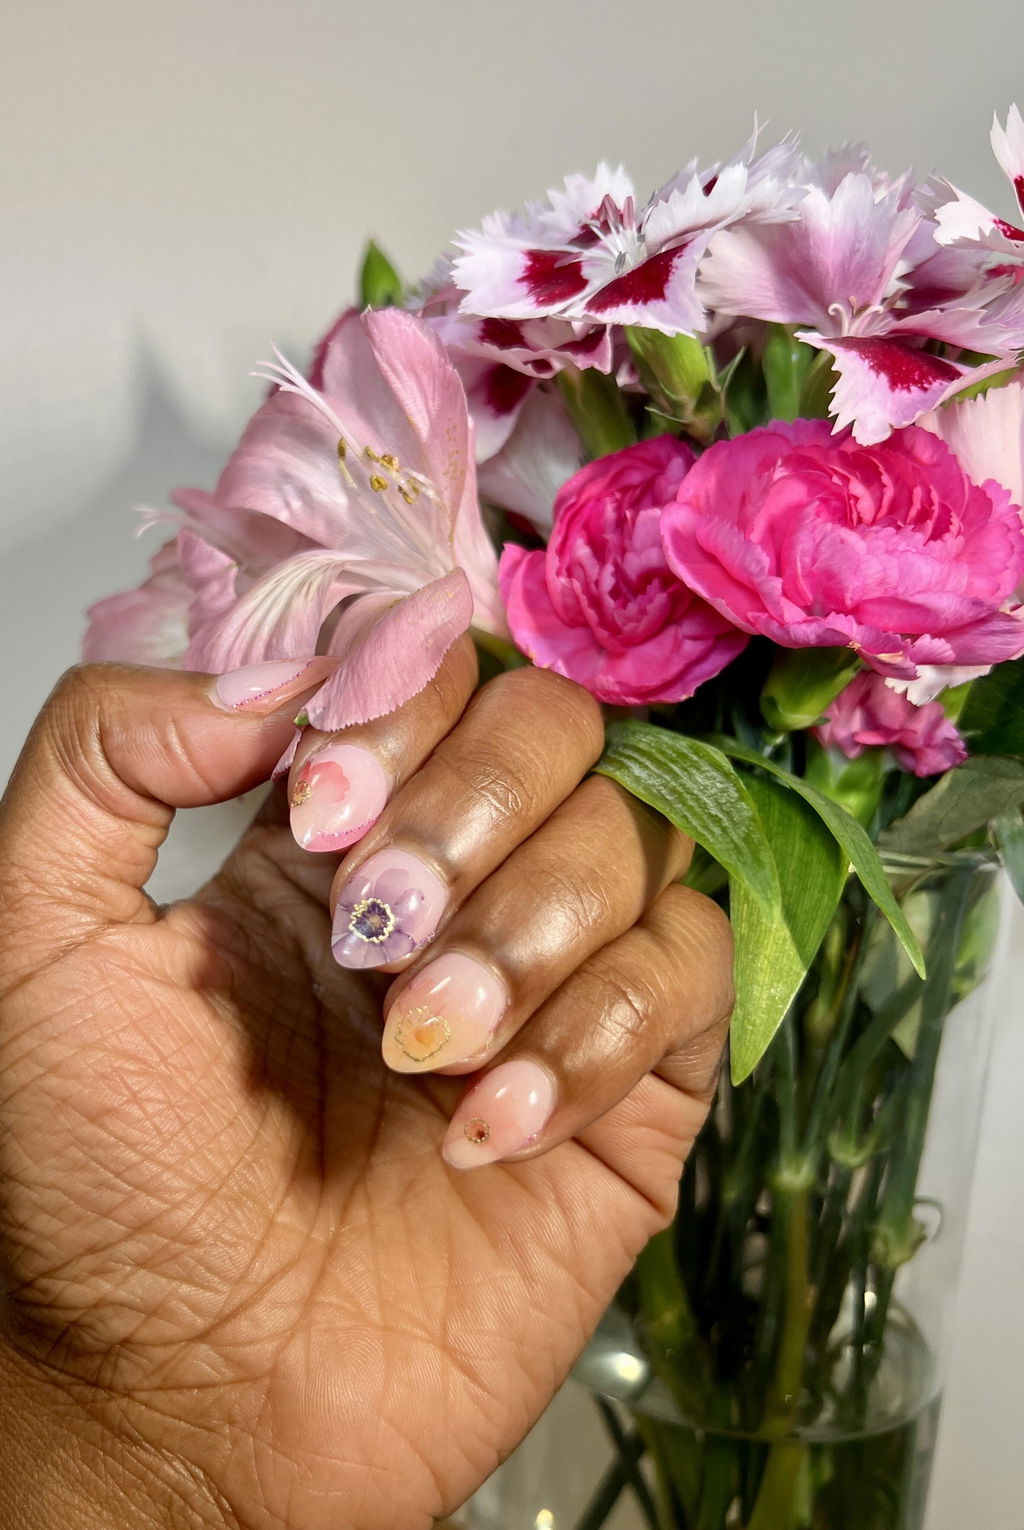
A Smarter Way to Do Gel Nails at Home
If you love the look of gel nails but not the process, there’s a better option:
👉 A smarter alternative is gel nail strips designed for a clean, long-lasting at home manicure
They give you:
-
Glossy gel finish
-
Long wear (up to 14 days)
-
No mess, no polish, no stress
How Gel Nail Strips Work (Easier Method)
Instead of multiple layers of polish:
-
Prep your nails
-
Apply strip (slightly smaller than nail)
-
Press and smooth
-
Trim excess
-
Cure for 60 seconds
Done.
👉 No drying time
👉 No streaks
👉 No bubbles
Why More People Are Switching
| Traditional Gel | Gel Nail Strips |
|---|---|
| Multiple steps | Simple application |
| Easy to mess up | Beginner-friendly |
| Messy | Clean |
| Hard removal | Gentle removal |
Final Thoughts
Yes — you can do gel nails at home with UV light.
But for most people:
👉 It’s time-consuming and frustrating at first.
If you want:
-
Faster results
-
Better consistency
-
A true at home manicure experience
There’s a better way.
👉 Shop Gel Nail Strips That Last Up to 14 Days at Home
Get salon-quality gel nails without the mess, frustration, or learning curve.