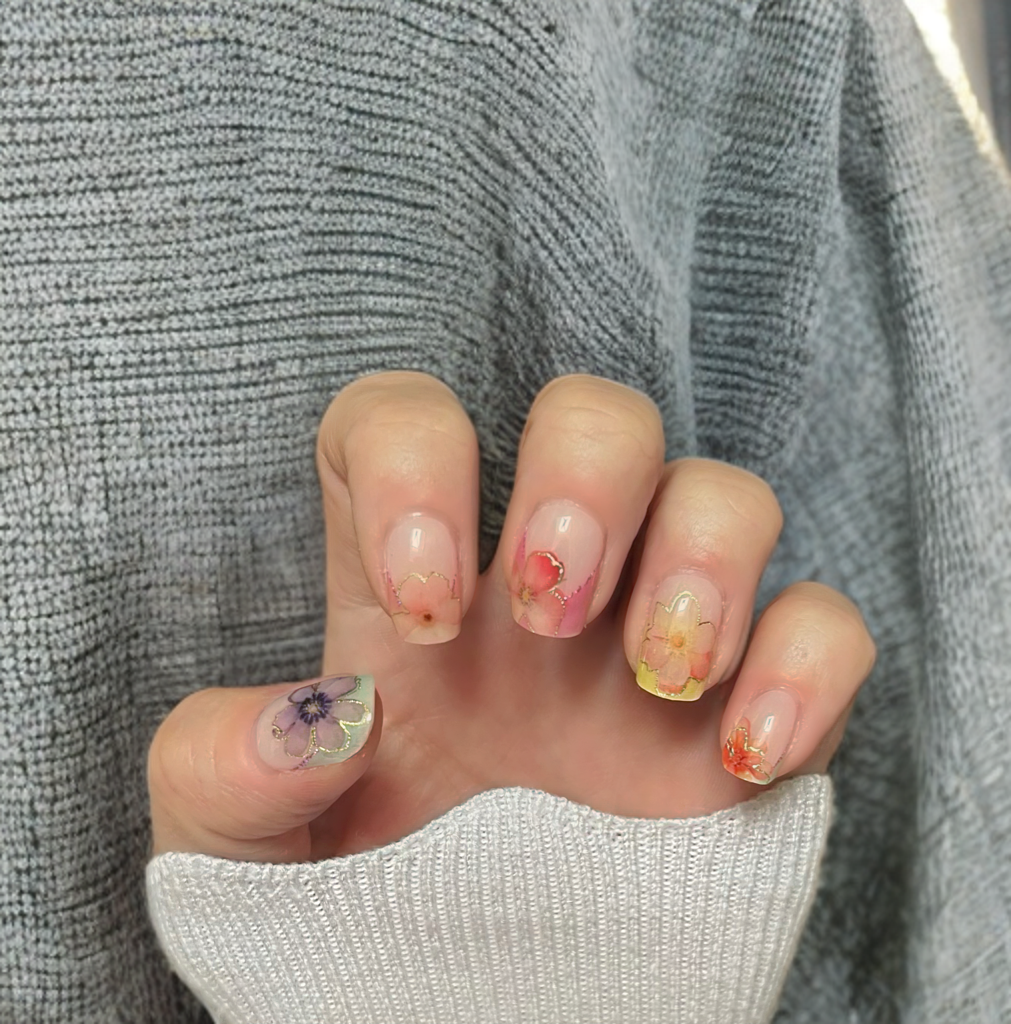
How to Make Gel Nail Strips Last Longer
Gel nail strips are one of the easiest ways to achieve a salon-quality manicure at home. But like any beauty product, proper application makes a big difference in how long they last.
Many issues such as lifting, bubbling, or peeling are usually caused by small mistakes during the application process.
The good news is that with a few simple techniques, you can significantly improve how long your gel nail strips last.
ultimate guide to gel nail strips
Here are some tips that can help.
-
Start With Clean Nails

Before applying gel nail strips, make sure your nails are completely clean.
Natural oils, lotion, or moisture can prevent the strip from bonding properly to the nail.
For best results:
• Wash hands with soap
• Dry nails completely
• Use an alcohol wipe to remove oils
Clean nails help the strips adhere more securely and last longer.
2. Push Back Cuticles
Cuticles can prevent nail strips from laying flat on the nail surface.
Gently push back your cuticles before applying the strip so the gel can fully adhere to the nail plate.
This step also helps your manicure look cleaner and more professional.
3. Choose the Right Strip Size

Choosing the correct size is very important.
A strip that is too wide may touch the skin along the sides of the nail, which can cause lifting later.
If you are between sizes, it’s better to choose the slightly smaller strip.
4. Apply From the Cuticle Downward
Place the strip slightly above the cuticle line and press downward toward the tip of the nail.
This helps prevent air bubbles and keeps the surface smooth.
5. Use the Jelly Roll Technique

One helpful technique for preventing side lifting is called the jelly roll method.
After placing the strip, use a wood stick to gently roll along the sides of the nail.
This helps remove small air pockets and presses the strip securely along the edges.
At Lit Gels, we include a wood stick in every set because this small tool can significantly improve application results.
6. Smooth and Seal the Edges


After applying the strip, press firmly across the entire nail surface, especially along the sides.
This helps seal the edges and prevents lifting.
7. File Off the Excess

Once the strip is applied, gently file off the excess material along the nail edge.
Always file downward to avoid pulling the strip away from the nail.
Final Thoughts
Gel nail strips make it easy to achieve beautiful nails at home. But the key to long-lasting results is proper preparation and application technique.
With clean nails, correct sizing, and simple tools like the wood stick included in every Lit Gels set, you can achieve a smooth manicure that stays secure and looks great.